
April 30, 2016
Last weekend was an Amateur Radio Vacation in Swan Valley Idaho… I took my little 25 foot trailer packed with my radio gear, food, water and munchies for my daughter and I and we headed out to the “great outdoors” to enjoy some fresh air, solitude and amateur radio for the weekend.
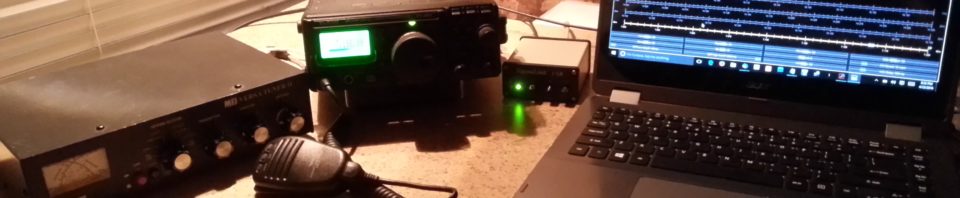
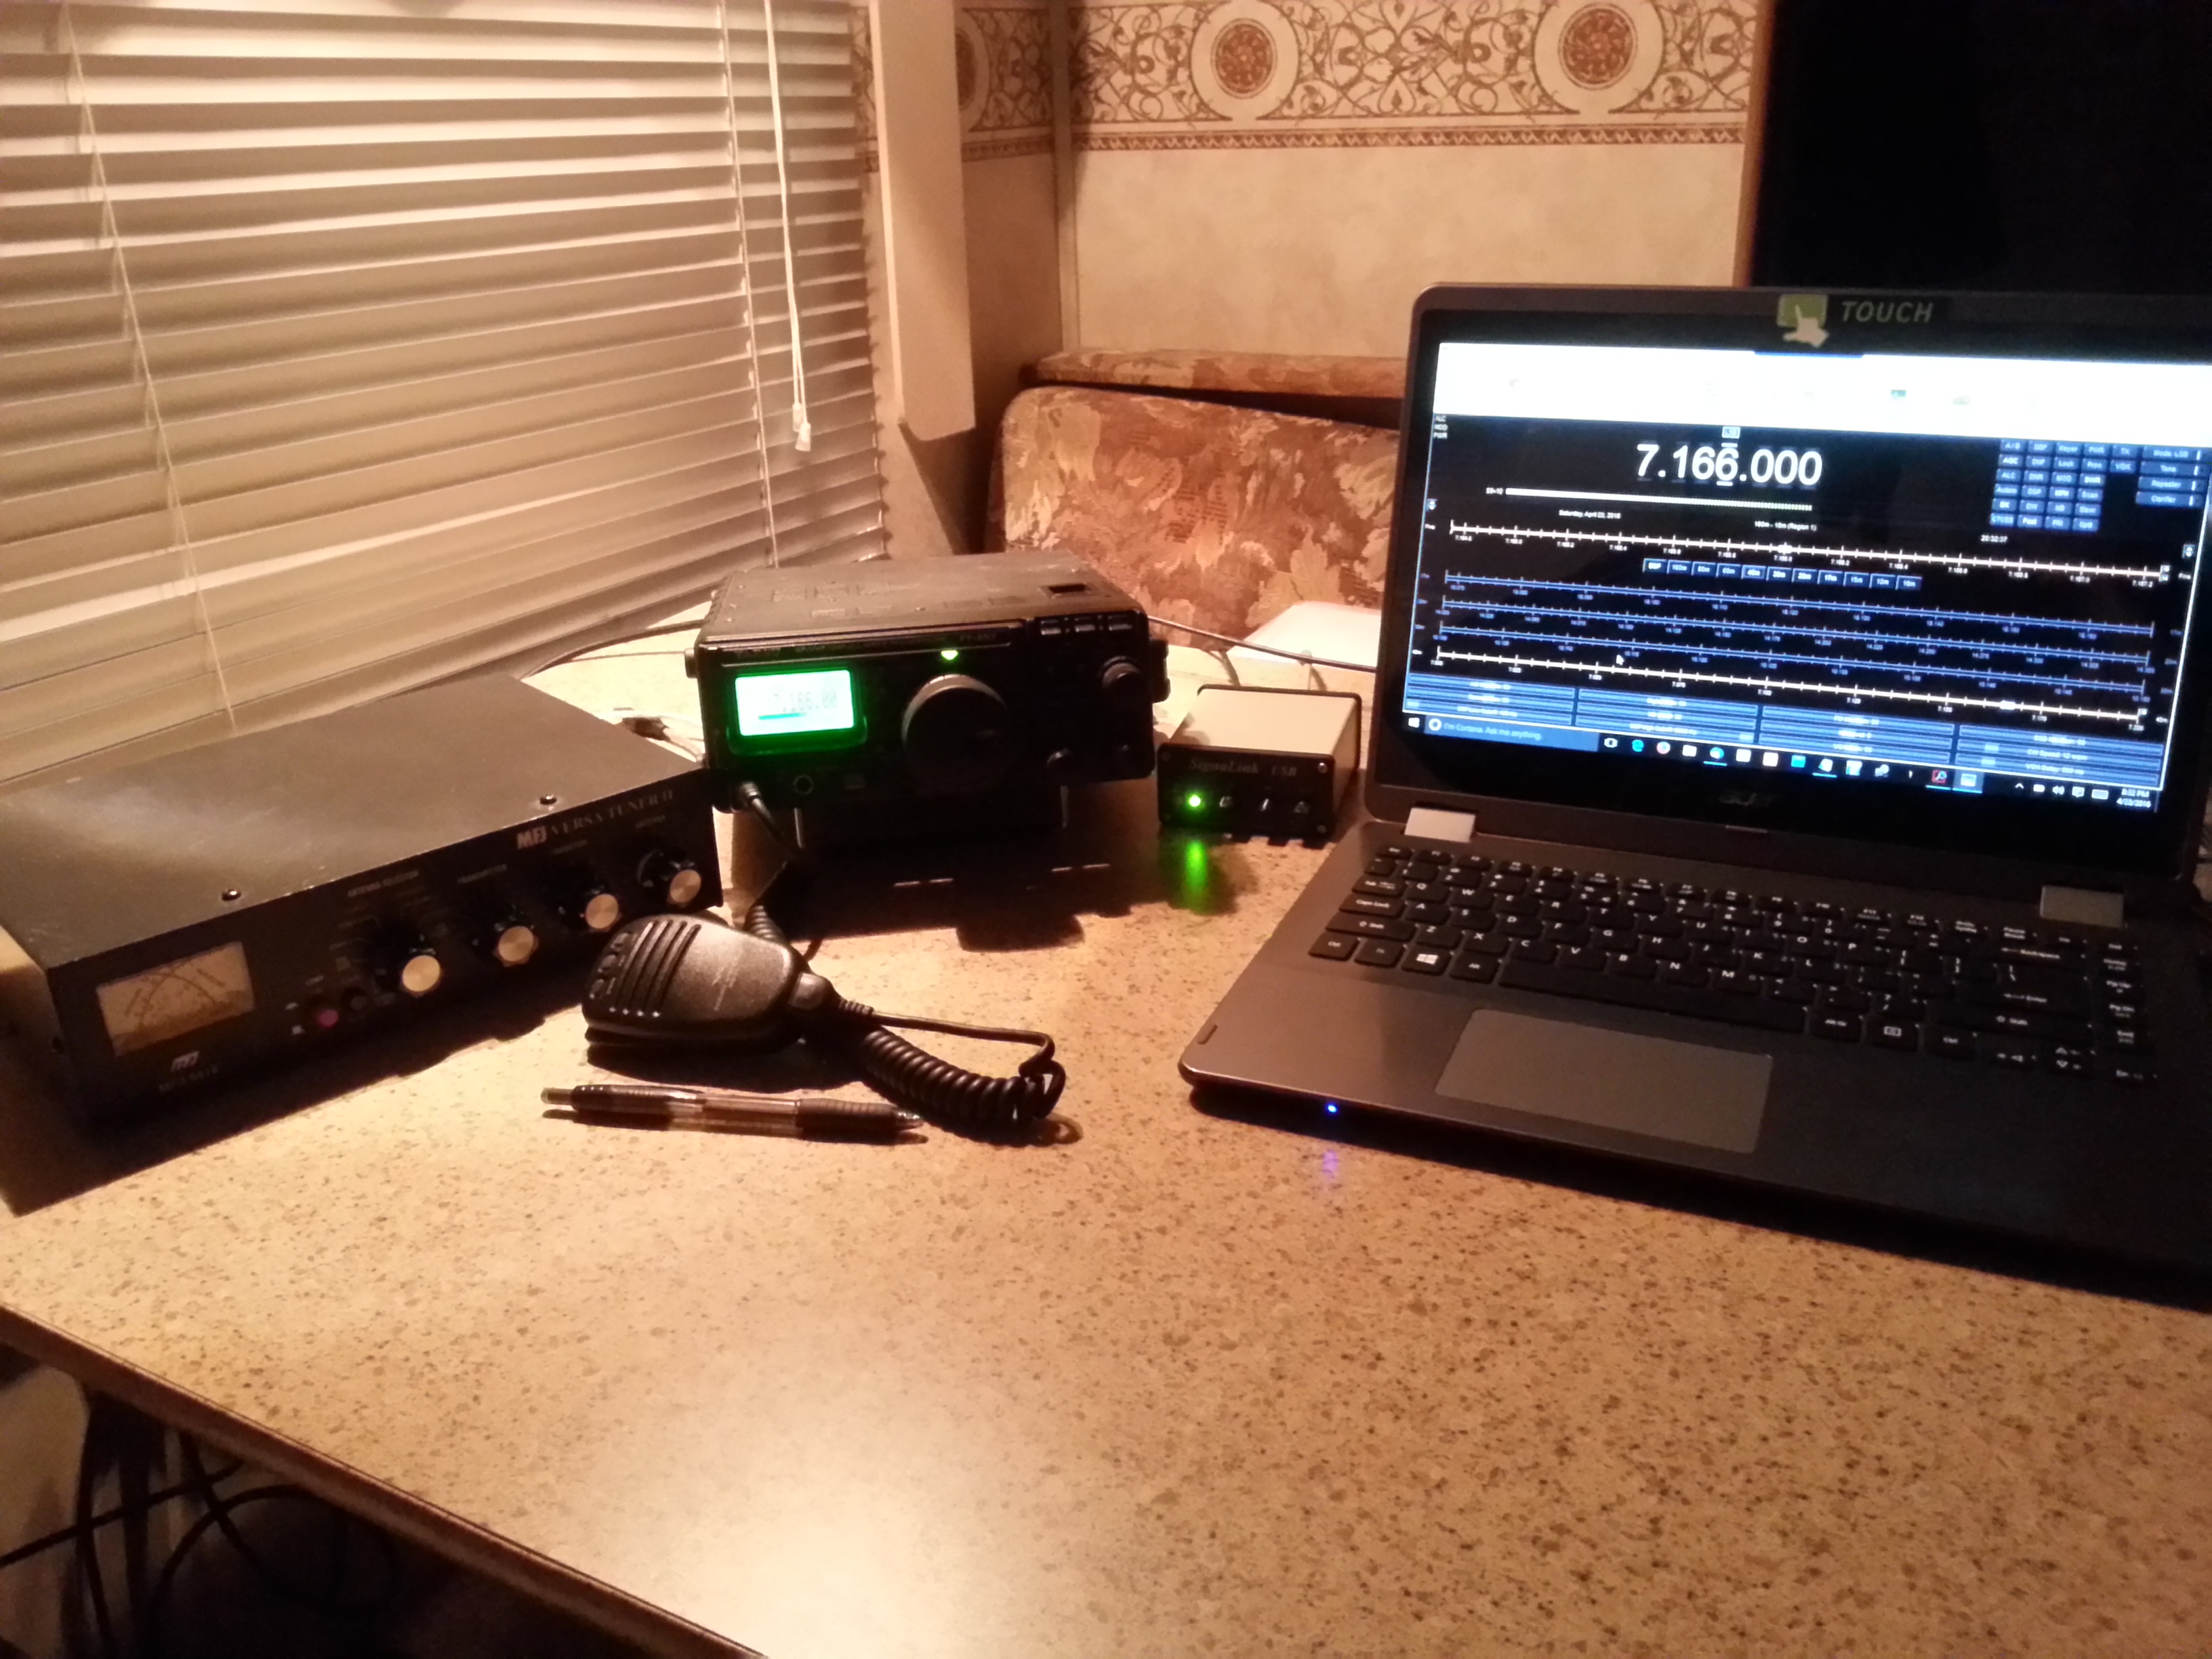
The “Shack”
Here’s a picture of my desk this trip. It’s the dinette table of my trailer which actually works well. My setup is very simple. It consists of a Yaesu FT-897, laptop, MFJ 941 Antenna Tuner and Signa-Link USB for rig control and digital modes.
I’ve been licensed since 2008 however, sadly, my time licensed has been punctuated with long spans of inactivity. The old saying “if you don’t use it you loose it” happens, in my case to be very true. The digital modes have always been interesting to me and this weekend I simply focused more on learning than on actually going after contacts.. So much so, in fact, that I did not have, nor did I even attempt a single phone QSOQSO - Has to do with a communication or conversation Questio.... Did I key up and attempt to raise the temperature of the clouds around me with the sound of my voice? Yes but only in the way of “Testing – this is KE7TVZ – Test” a couple of times to check my SWR.
I am using Ham Radio Deluxe (Version 5) and focusing on DM780. I think I’ve got it all figured out now and like it. I like it, that is, minus the crashes here and there. I’ve looked at the commercial version and feel that I’ll stick with Version 5 for now. All the research I’ve done has lead to my opinion that there is not much in the paid version that I don’t get in the free version.
My biggest challenge is what I would term “mode recognition”… When I see a signal on the waterfall that doesn’t look like a PSK31 then I am at a loss to figure out what mode it is and how to decode it. The past few days have lead me into JT65 "JT65 is a digital protocol intended for Amateur Radio com... land and I’m very intrigued with that mode!
Metal in the Air
If there is one thing that I enjoy is raising antennas. This was my favorite part of the outing.
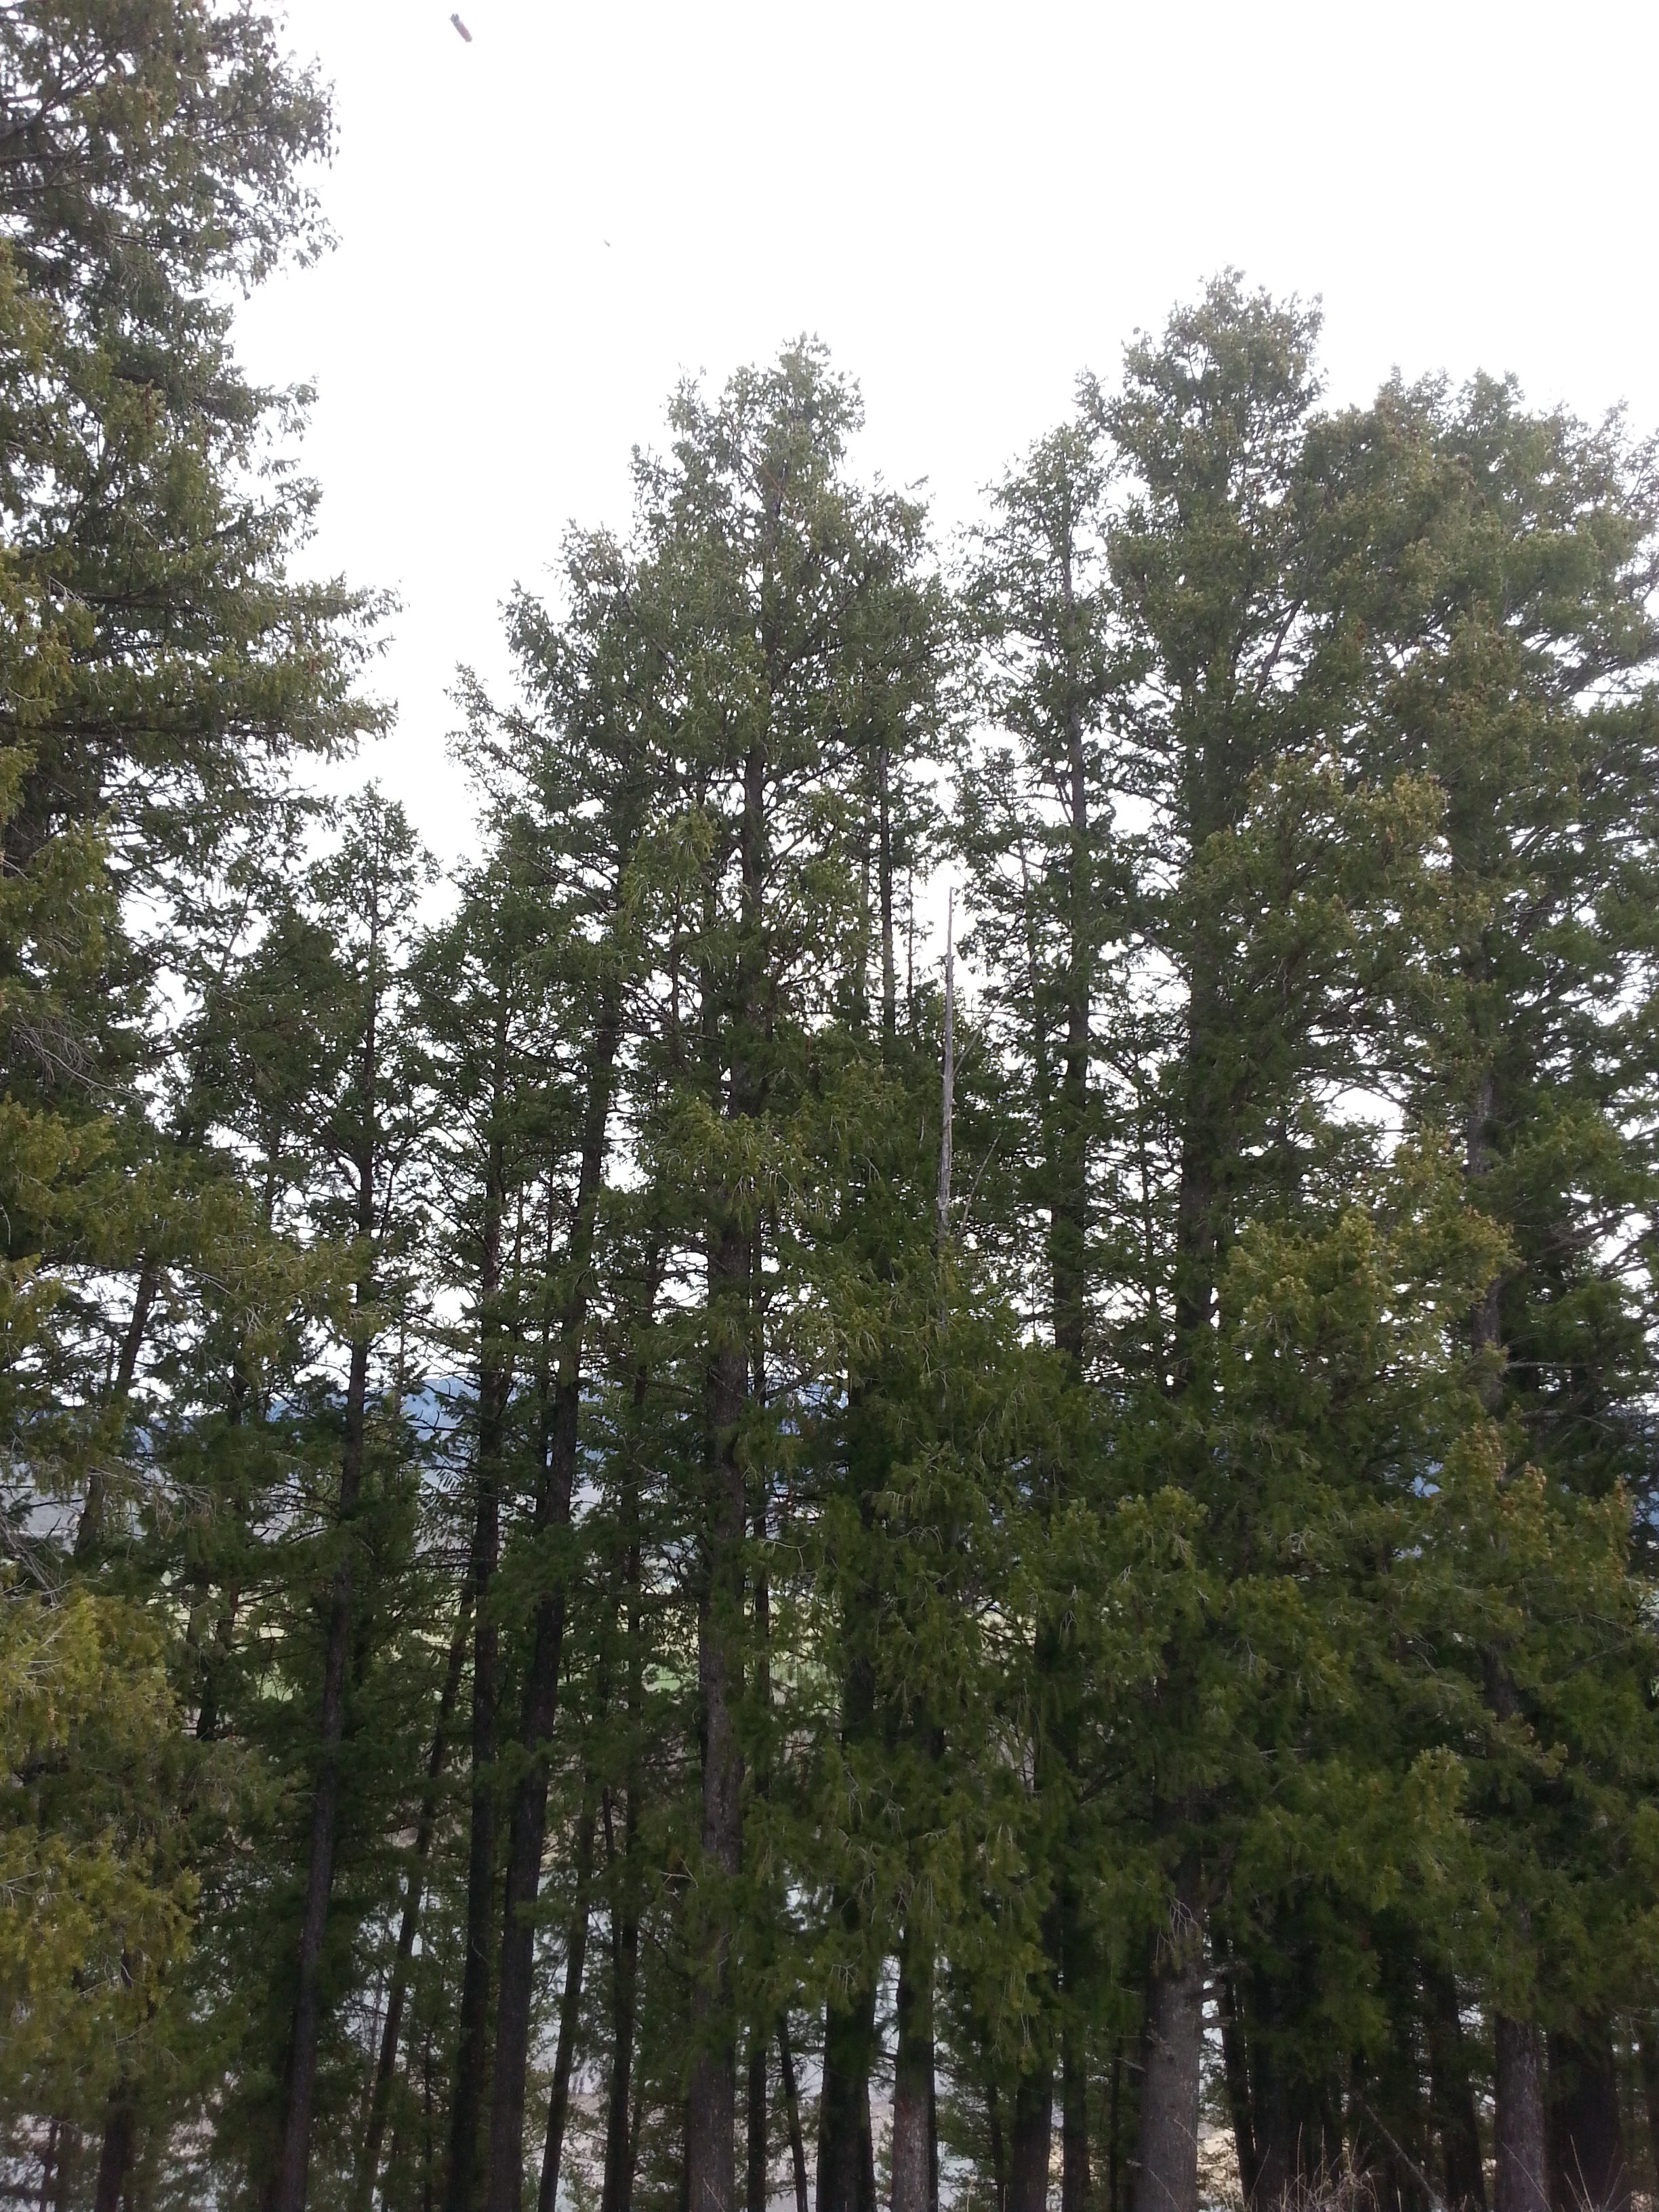
My main antenna this trip was my Alpha-Delta DX-CC Dipole. I set it up horizontally, about 30 feet high, pointing North to South. The picture on the left of the tall tree bank was my anchor point to the North. That picture on the left of the tree that looks short was my Southern anchor point. I say “looks” short only because it is not really that short however happens to be on the downward slope of a hill. I had to add a mast to the installation after the fact but it taught me something which I’ll get to in a bit. Before I put that mast up, my dipole looked like it was confused as to whether it was supposed to be horizontal or a sloper and I wasn’t sure how it. I was quite pleased with the outcome.
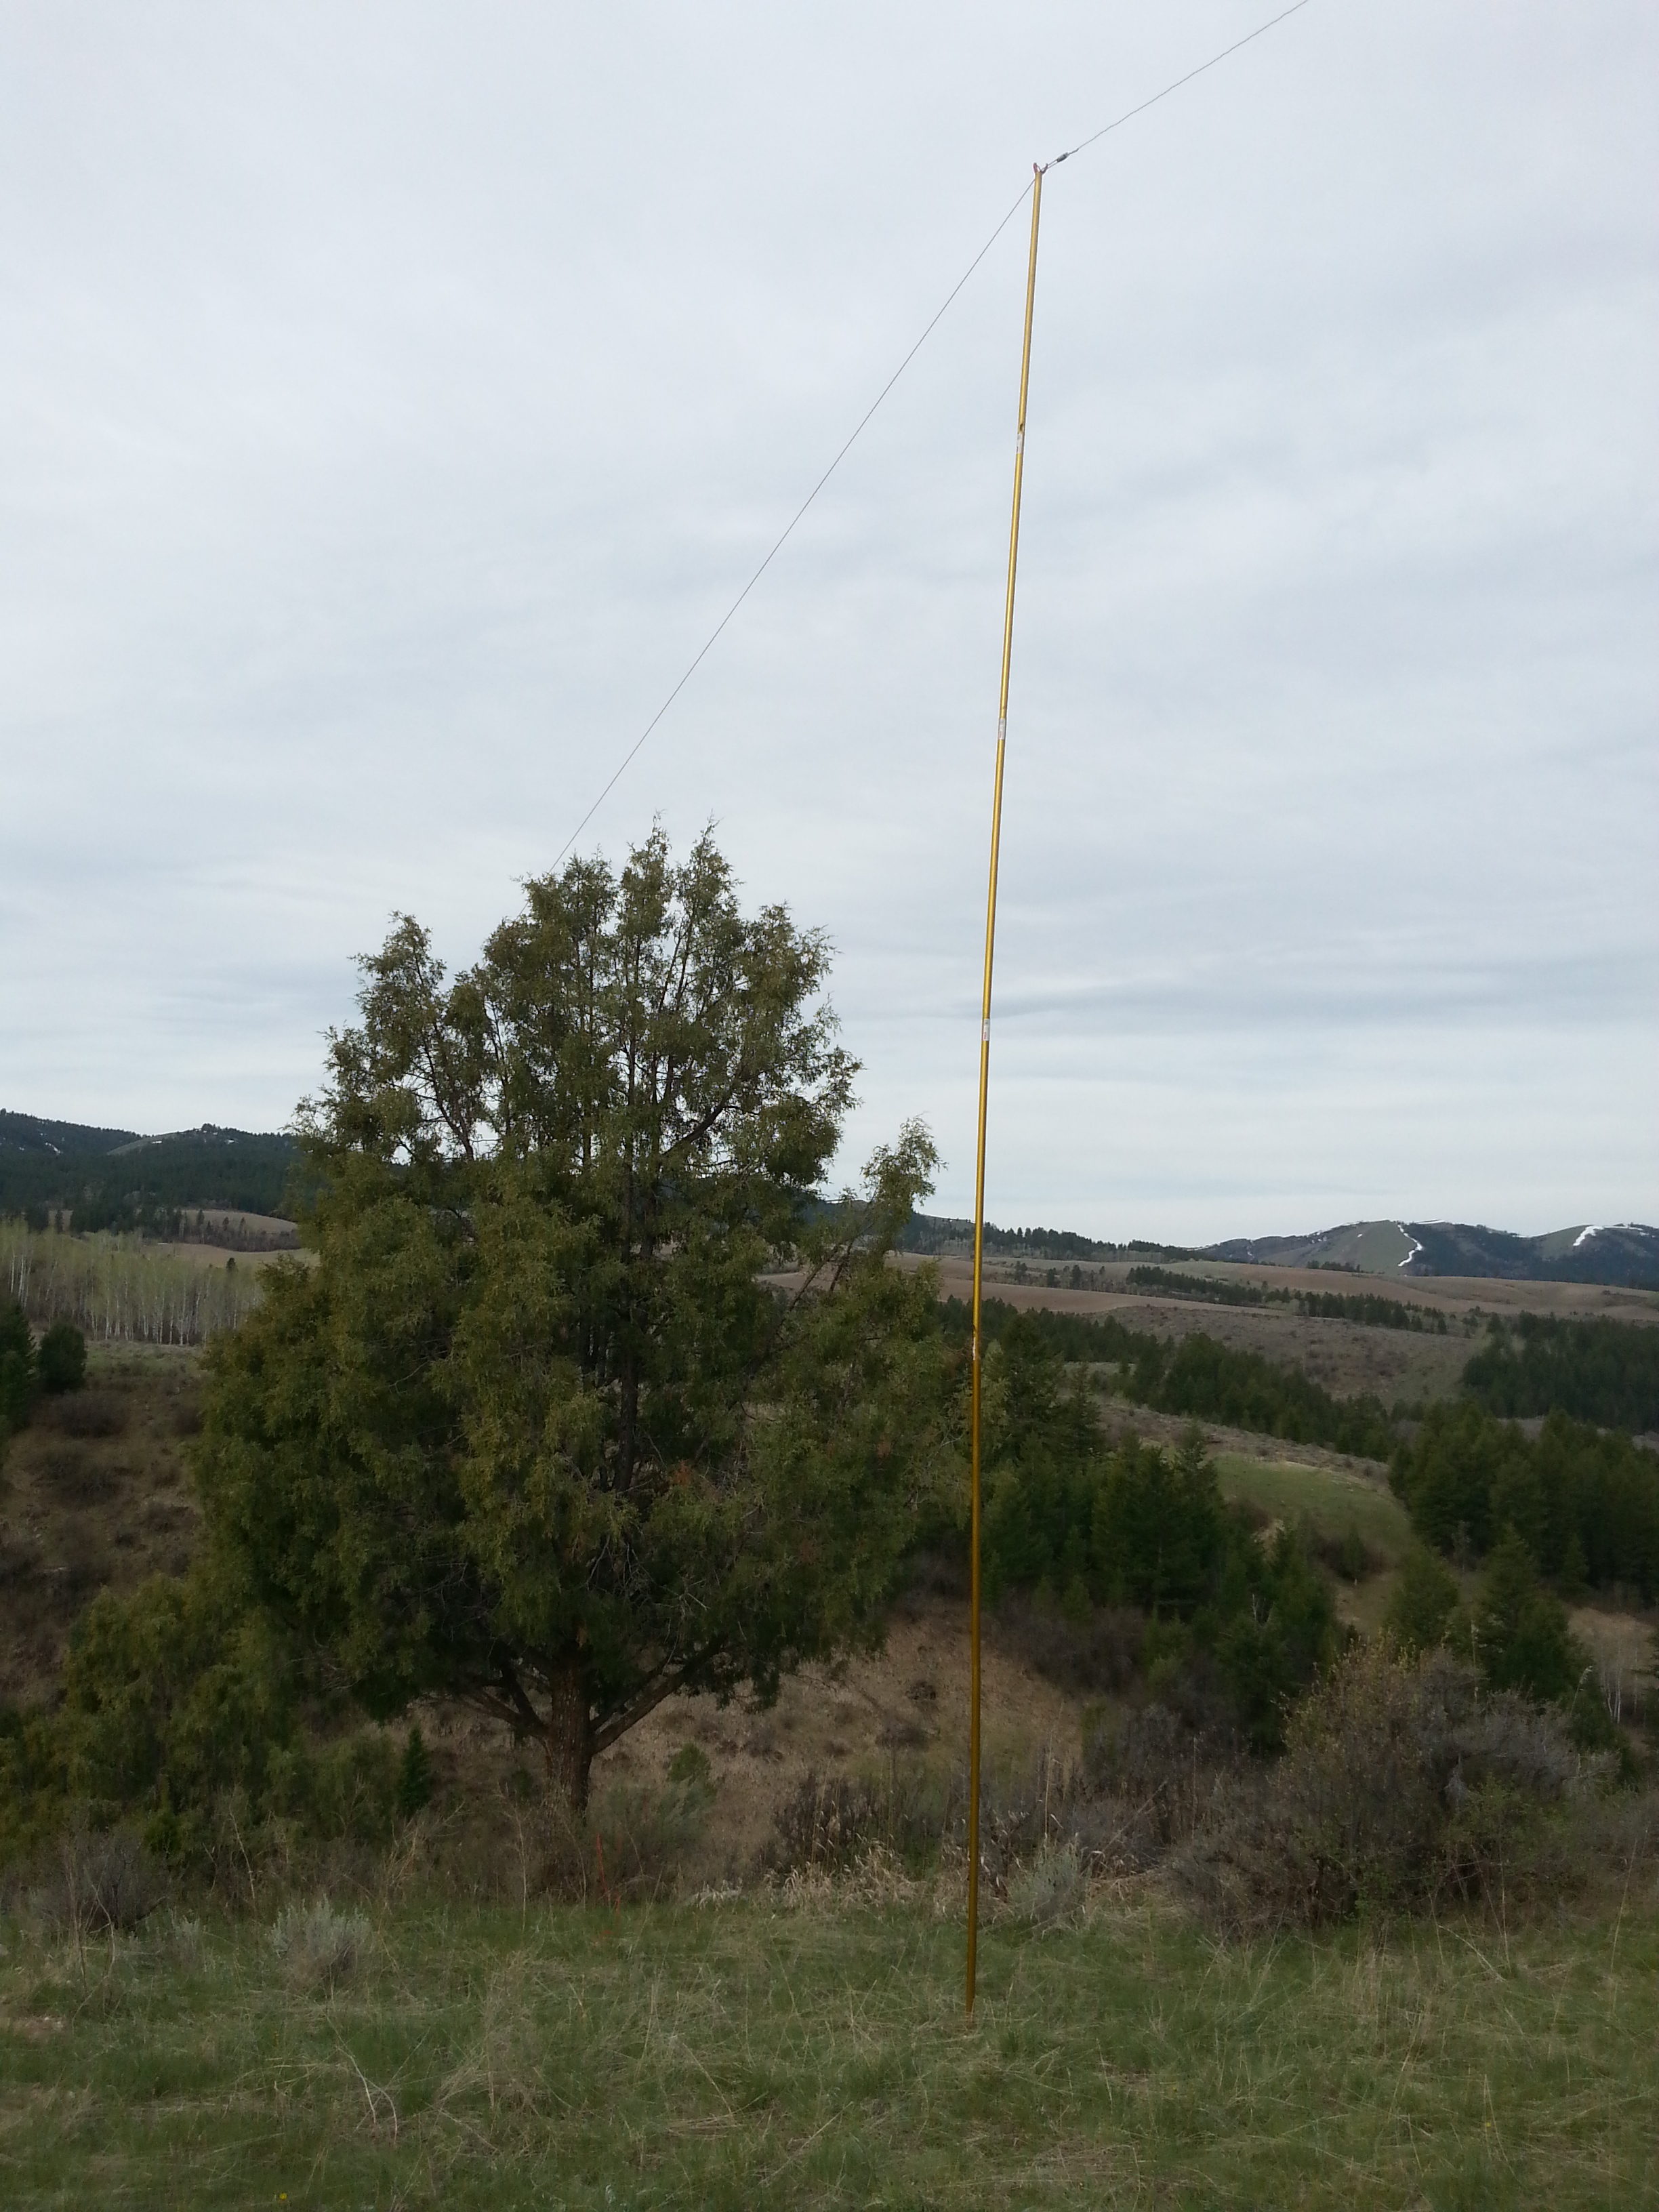
Picture a drooping, confused looking dipole. High and mighty to the North but seriously lacking to the South. I took seven sections of my aluminum masts that slide together. Then I took a stick shaped like a “Y” or a sling-shot and inserted that into the top mast. Then I lifted the mast all by itself and caught the rope supporting the dipole in the “Y” and lifted it up until the mast was vertical. This was the AH-HA moment. I was able to let go of the mast and it was self supporting as well has lifting the dipole to a horizontal configuration. Had I been sure that there would be no wind (like it was at that moment) I could have left it as is. However, this is Idaho and the chances of no wind for the rest of the weekend are slim to none. There’s a saying that we have that goes like this… “If you don’t like the weather, wait a few minutes”… Alas I installed two guy lines, one East and one West then brought the line tying down the dipole and routed it back to the mast giving a Southward support.
As luck would have it, the rest of the weekend was fraught with rain and wind. In fact, we had major wind and this setup held very well. As I said, the dipole is the Alpha-Delta DX-CC and I used some light line from my local big-box store. It had a weight rating of 65 lbs and is bright red. This line was definitely strong enough and worked but I could have made a better choice of lines. This particular one snagged quite a bit in the trees which caused “pulls” in the outer coat of the line. A better choice would have been a slippery nylon option which I’ll look into for next time.
After getting the dipole antenna up it was time to test it. Using my handy antenna analyzer I checked the SWR for the frequency range I wanted to run on. Conditions oscillated back and forth between 40 Meters and 20 Meters. This was very convenient considering all I had to do with my tuner was simply switch between the Tuned output and the Bypass selection. On 40 Meters, I could utilize the entire digital band without any tuning necessary. I simply tuned for 20 Meters and was set for the rest of my stay at that location. I had < 1.5:1 SWR on 20 Meters and < 2.0:1 on 40 Meters.
Power
For power I ran off of batteries as much as possible but of course eventually they ran down. When that happened or when cooking with the microwave was needed, in other words, something other than peanut butter and jelly sandwiches I had to start the generator. It ran like a champ and didn’t use very much gasoline either. Another battery issue that I was confronted with was the waning capacity of the battery on my little ham radio laptop. At one point I attempted to charge it using a little power inverter off a 12 Volt DC connection in my little trailer. There was quite the amount of interference created when I did this. On a side note, the interference wasn’t coming from the inverter but rather from the laptop itself charging (more on this later).
As for the generator, I put an idea that I’ve had for quite a while but never acted on until this weekend. It was just a simple notion that worked quite well. In the past, we’d been lucky enough to not get rained on while we were awake. One night when rain was predicted, after the generator was shut down and cooled down I covered it with a tarp and slid it under the trailer. It did rain and this arrangement kept it nice and dry and protected from the elements. That was the moment when the idea to build a little hut out of 1/2″ PVC and fit it with a tarp to cover the generator and allow it to operate and not get wet. I call it the “generator hut” and it worked well except one modification is needed.
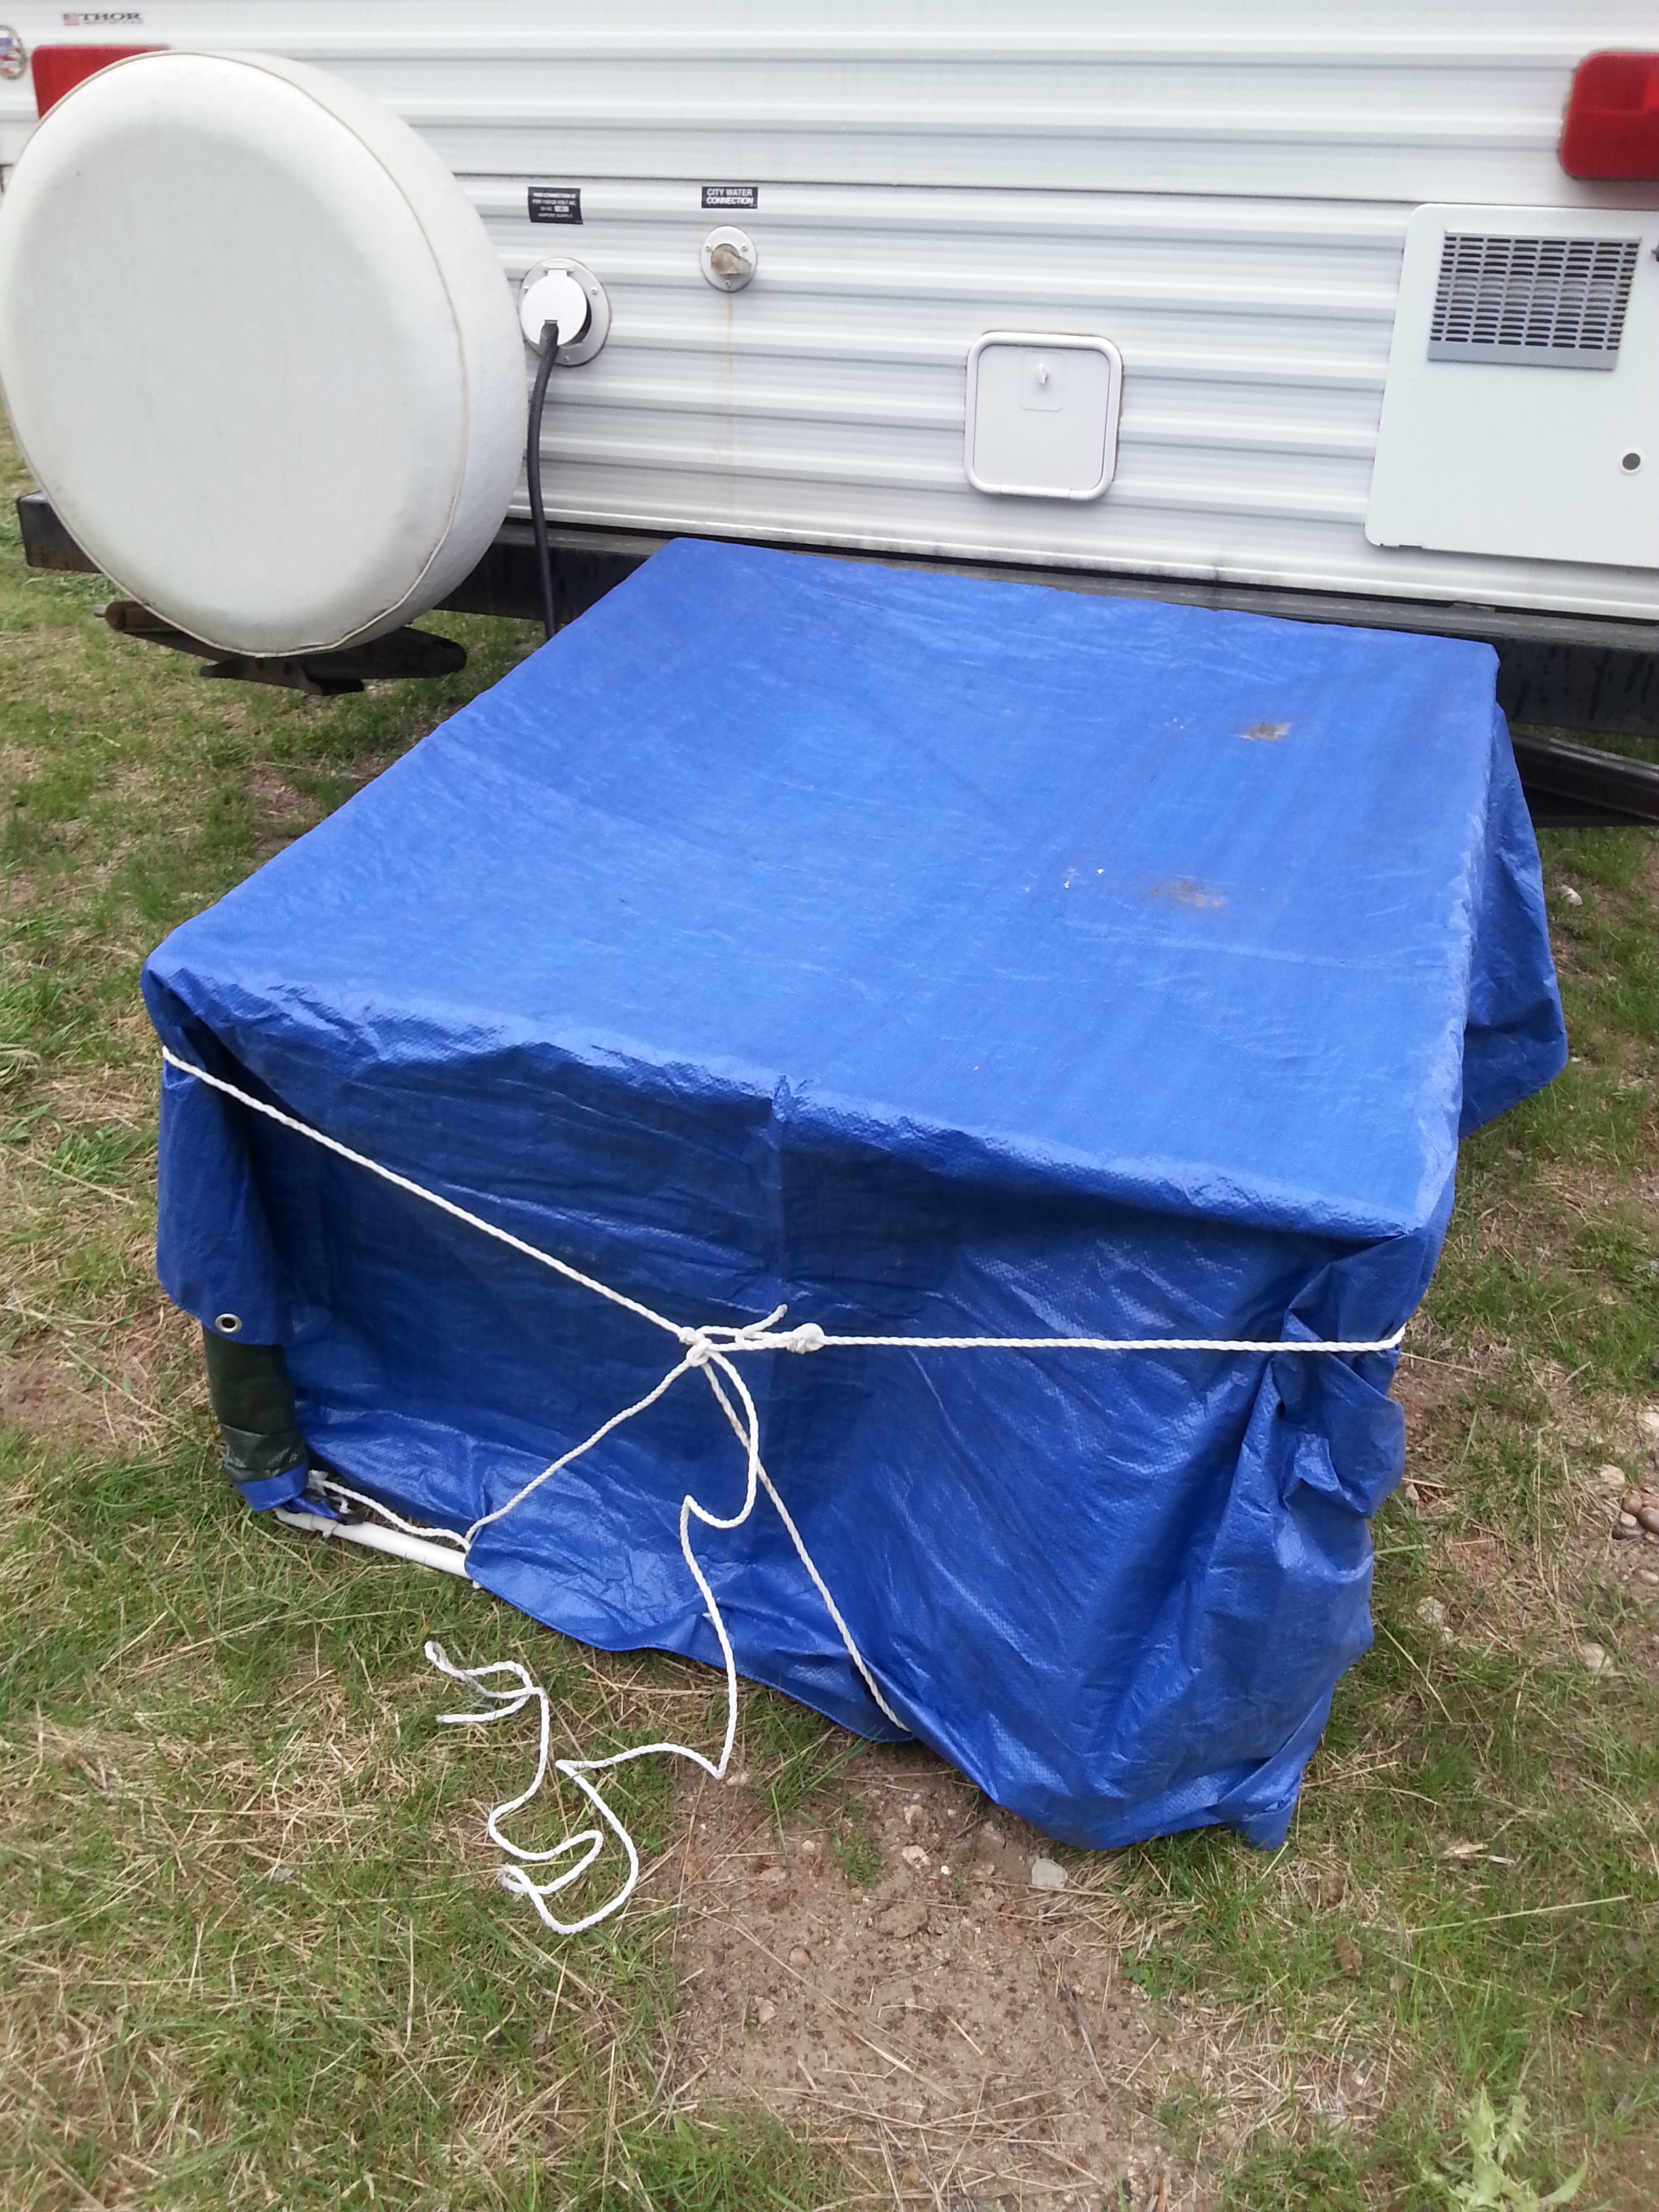
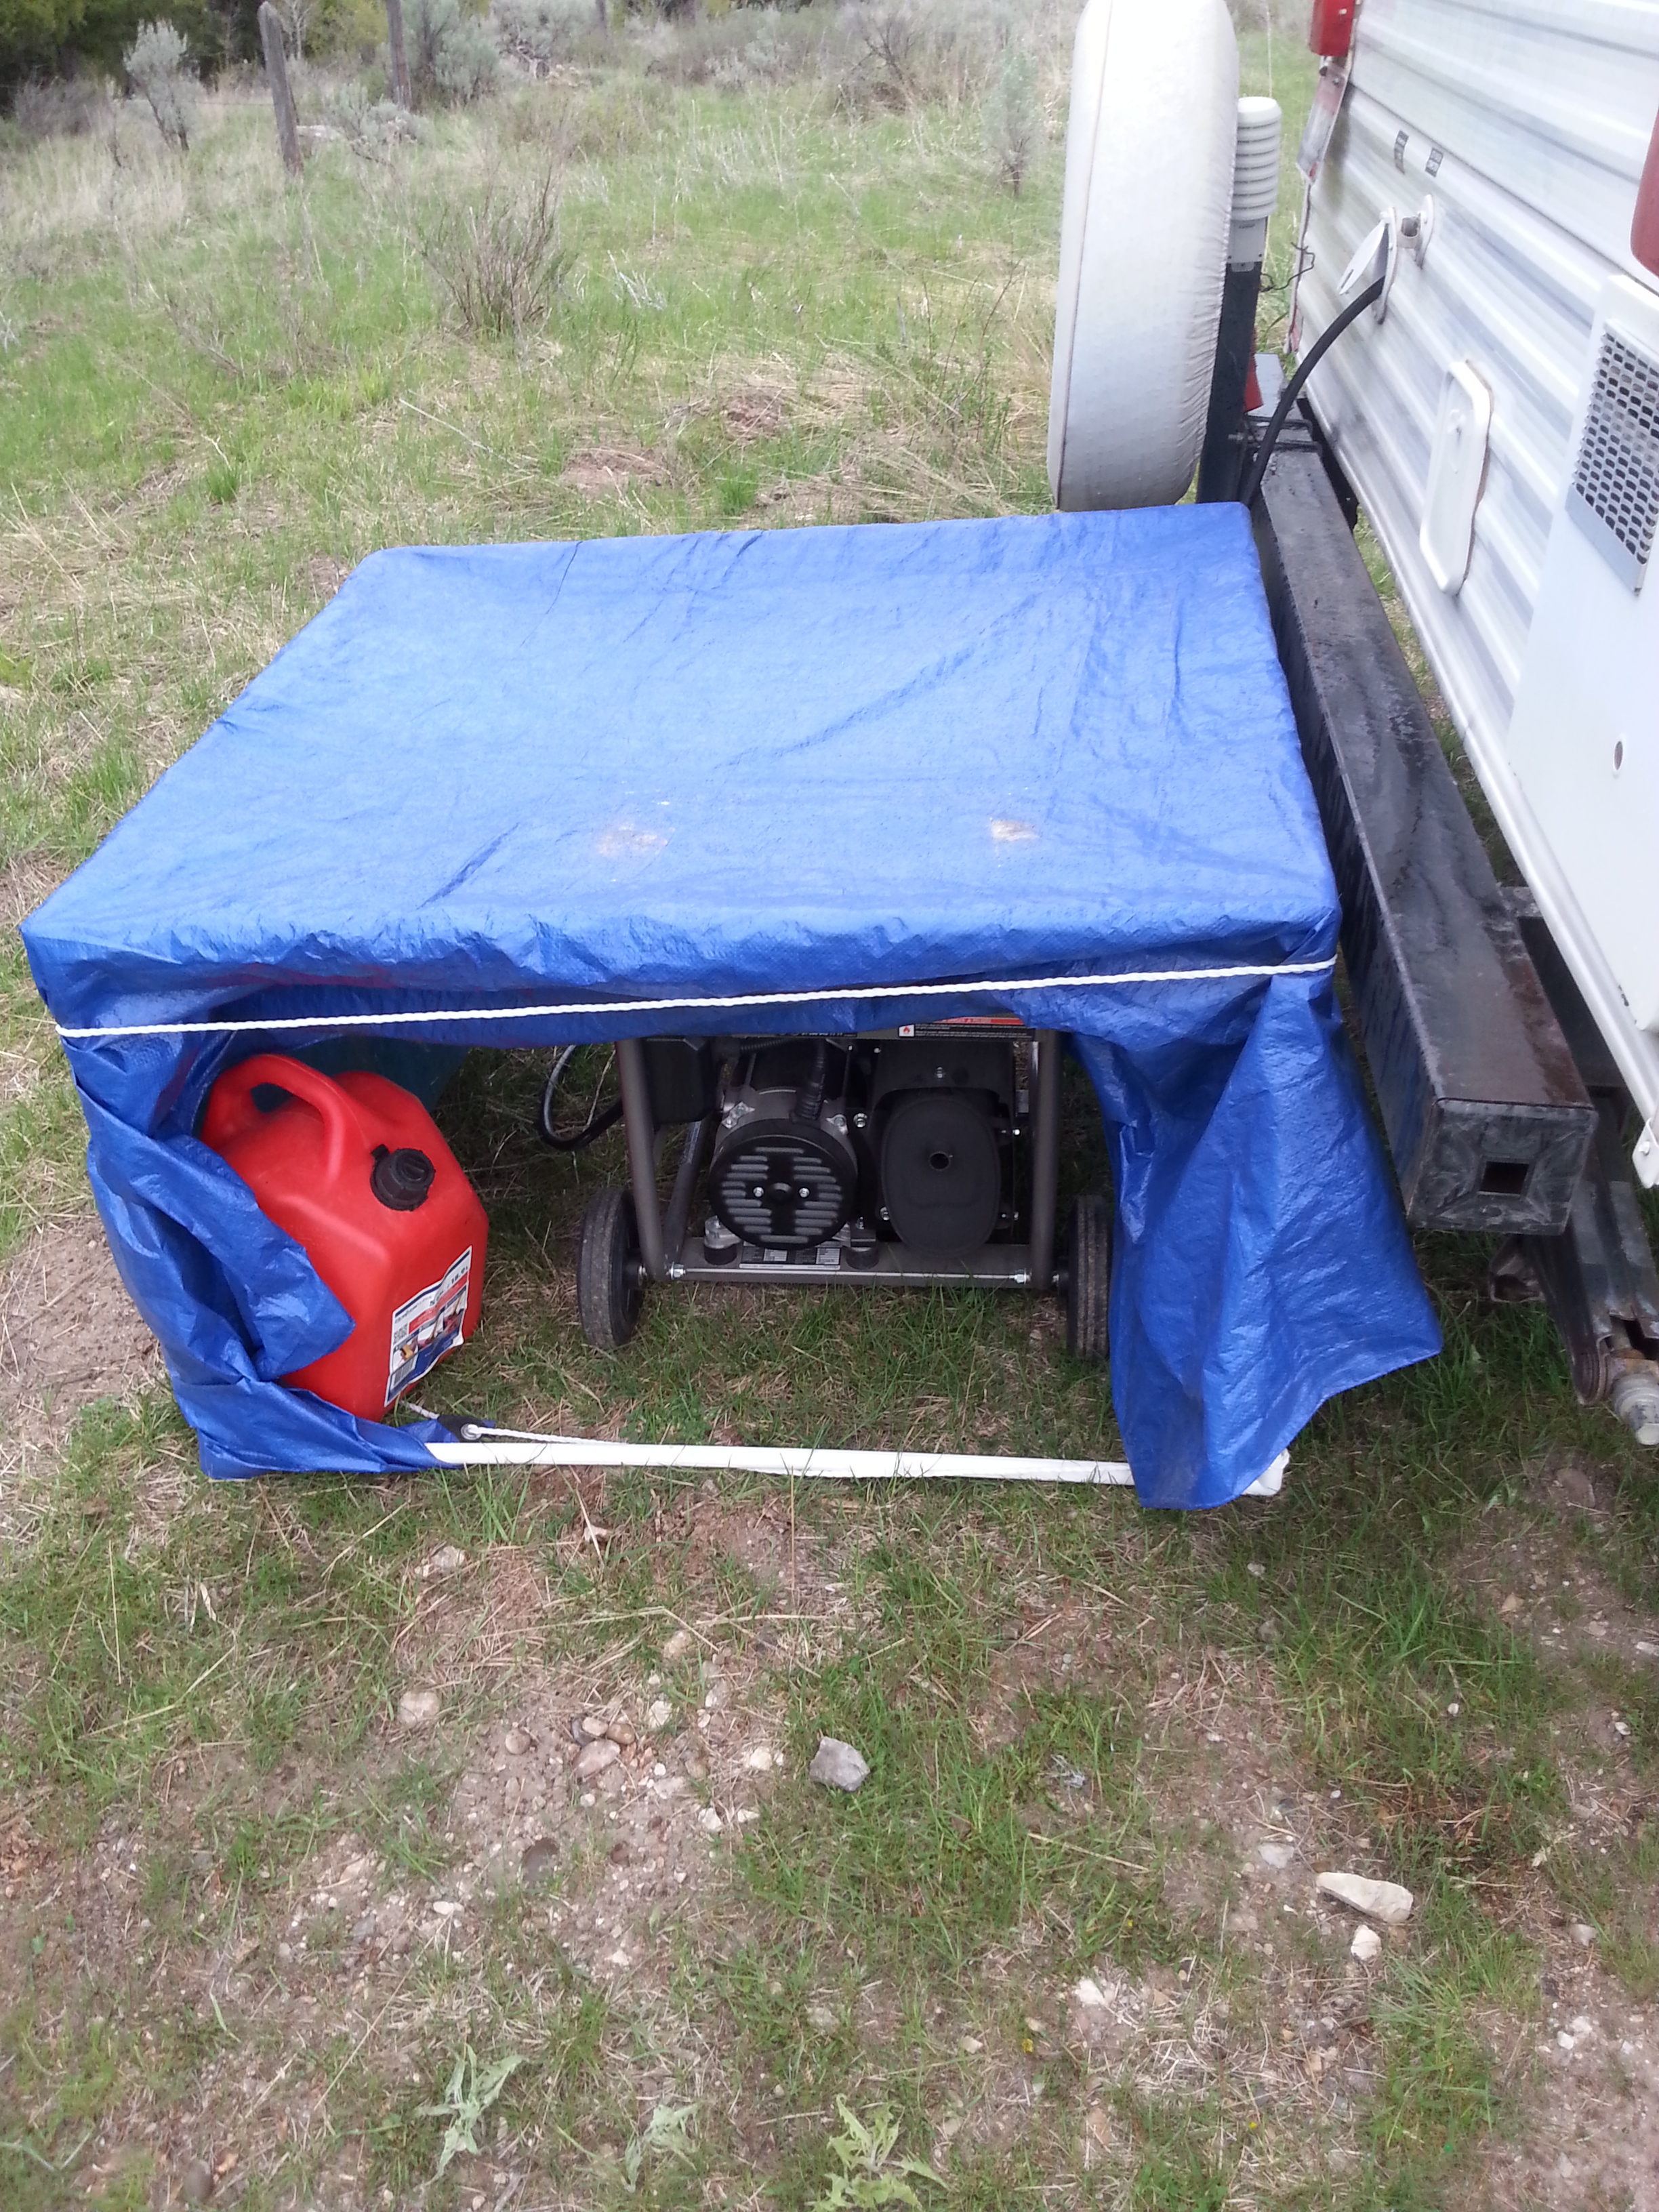
The first picture is from the back and it is completely enclosed. The other, from the side and open to allow exhaust to flow freely. This configuration worked but I want to modify it slightly. The “roof” of the “hut” needs a peak. What I found with this construction is that the rain water pools instead of draining. I overcame this problem this weekend by simply using a spare piece of PVC underneath to raise up the tarp from a single point I had to keep an eye on this arrangement as that piece frequently fell and allowed the pooling to reoccur.
Additional modifications will allow staking the tubes down to the ground. This trip I used heavy things such as the gas can and a few rocks to weight down the “hut” to prevent it from blowing away. The positioning of the “hut” behind the trailer was also helpful in that the wind was being blocked by the trailer.
Computer Control
So up until this outing I had been using my “old” laptop for rig control and logging functions. As I mentioned in the “Power” section, battery capacity for this laptop has degraded quite a bit. It seemed I was getting about 20 minutes of time out of a full battery charge and when working in the digital modes, and charging the laptop created RFI. I made a choice to switch my Amateur Radio functions from the old laptop to my new laptop. Here’s the twist… Old laptop is a Dell Duo with small screen and low power consumption. That’s a great thing. I moved to my Acer with much larger screen, faster processor, more RAM (all overkill for what is needed to run HRD et al) and overall, a much larger power draw however it also has a near 8 hour capacity. This saved me from having to run the generator for laptop charging.
Internet connectivity for the laptop was not a possibility. I was, however able to access the net via my Android cell phone. Unfortunately, tethering was not a possibility as I am not paying for that particular feature so I went without – no big deal really.
The big deal for me is communication between the radio and the computer in terms of rig control and information transfer. When I shifted from the old laptop, which other than battery life, worked flawlessly to the new laptop which did not want to work at all I groaned and saw visions of frustration and hair loss (if you know me then you know that I don’t have much of that stuff left to loose) in troubleshooting Hades. At that point I took a break, set it all aside and stepped outside to grab some fresh air. My daughter and I also fit in a few rounds of our favorite board game “Sorry”. After that I came back to quickly discover it was a USB to Serial Port Driver issue and was able to over come that pretty easily. Now, this required internet access, which you’ll recall I don’t have on my laptop. Bluetooth to the rescue! I downloaded the file to my phone and used file transfer protocol via Bluetooth to the laptop. A few clicks and keystrokes and I was in business. Now I make this sound like it was a quick thing and it wasn’t but I did overcome it. The nice thing is that I wasn’t “contact hungry” – I was knowledge hungry and I was gaining that so I was happy.
Modes
The contacts that I made were on all PSK31 and on Friday. When I got on the air on Saturday it was as if all the rules had changed. I did not come across any PSK31 QSO’s at all. What I did come across were all foreign patterns that I was unable to identify. I didn’t make any further contacts that day. Contrary to what one might think, this was not upsetting, to me. I simply decided to use it as a learning activity. I browsed through the various modes in HRD and studied the patterns they created on the Waterfall. There were several patterns that came across my Waterfall that I couldn’t identify and couldn’t replicate. Obviously modes not covered by HRD but that was alright too I was learning things in the process.
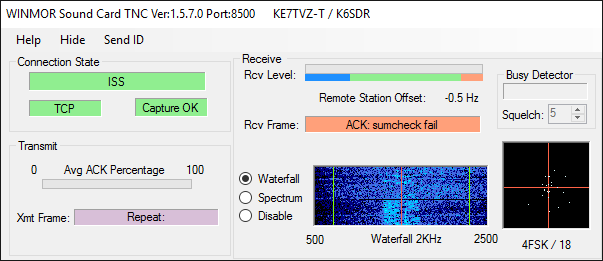
After another break from operating and learning I came back and got RMS Express installed on my new laptop. What this program does is allow access to Winlink which gives the ability to send and receive email. Configuration and testing was fairly easy even considering that it has been since October 2015 since I played with this mode. RMS Express, if you are not familiar with it, allows access to email via HF and VHF/UHF radio transmissions from anywhere in the world. Yes – you read that correctly. Email access, sending and receiving email via radio waves. It uses a software Terminal Node Controller (TNC) that looks like this:
When sending and receiving email it is said to be working as a “Client”. The client connects via radio to Remote Message Servers (RMS) which connect via the Internet to Common Message Servers (CMS) located all over the globe. The Common Message Servers replicate all of the messages in the system and are fully redundant. Only one single RMS and one single CMS need to be up in order for the system to work. As long as an RMS can be reached via radio and that it can reach the CMS then email may be sent and received. This can be an incredible asset to have access to during an emergency in an area where communications have been disrupted. I believe I’ve come to the opinion that Winlink is my favorite digital mode.
Understand that although email can be sent and received using this mode I’d strongly recommend keeping your current Internet Service Provider (ISP). This mode is not for the impatient at heart. Look closely at the graphic below… Notice the speed of this session – a blazing 185 Bytes/Min! That right around the same speed of the first modems that came out in the early days.
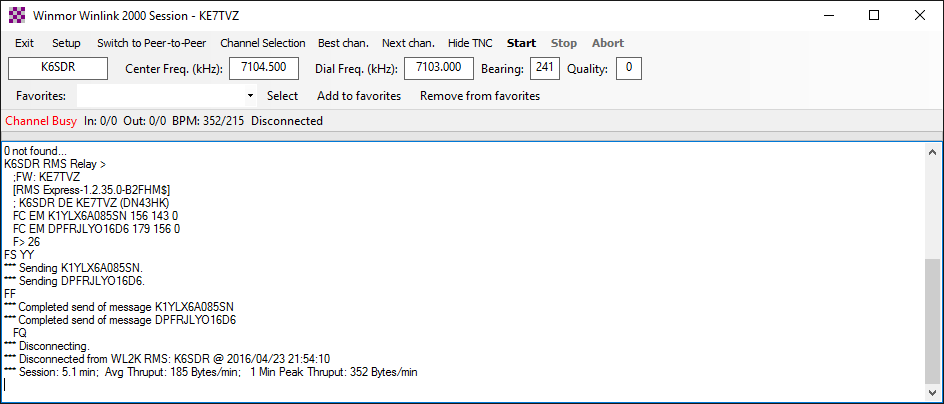
If you were born after 1999 or so you are probably unfamiliar with that term “modem” – they were used when we used to connect to the Internet via “dial-up”… That was where we made a phone call with our telephone line, like sending a fax. Initially speeds were 2400 Baud (bits per second) and access consisted of black screens with white writing, dark green screens with lighter green writing or the same scheme only in amber. I’m getting off topic here…
Overall…
All in all, the trip was amazing and even with the challenges I faced, I had a very good time. I grew as an operator and that was what I was looking for.
Thank you for checking out my page!
73’s – This is KE7TVZ Clear.
Recent Comments